Publishing the same visual across every social network sounds simple until you start resizing it. Instagram, Facebook, X, YouTube, LinkedIn, and TikTok all use different recommended image sizes. If you crop each file one by one, a small campaign can turn into a repetitive editing task. A better workflow is to use a social media batch image crop process with ready-made presets, preview the framing, and export every version in one pass.
This guide explains how to prepare social media images with Batch Image Crop, a free browser-based tool for bulk cropping. It covers the supported social media presets, when to use each size, how to avoid blurry exports, and how to keep filenames organized for a repeatable workflow.
Why Social Media Images Need Different Crops
Supported Social Media Crop Presets
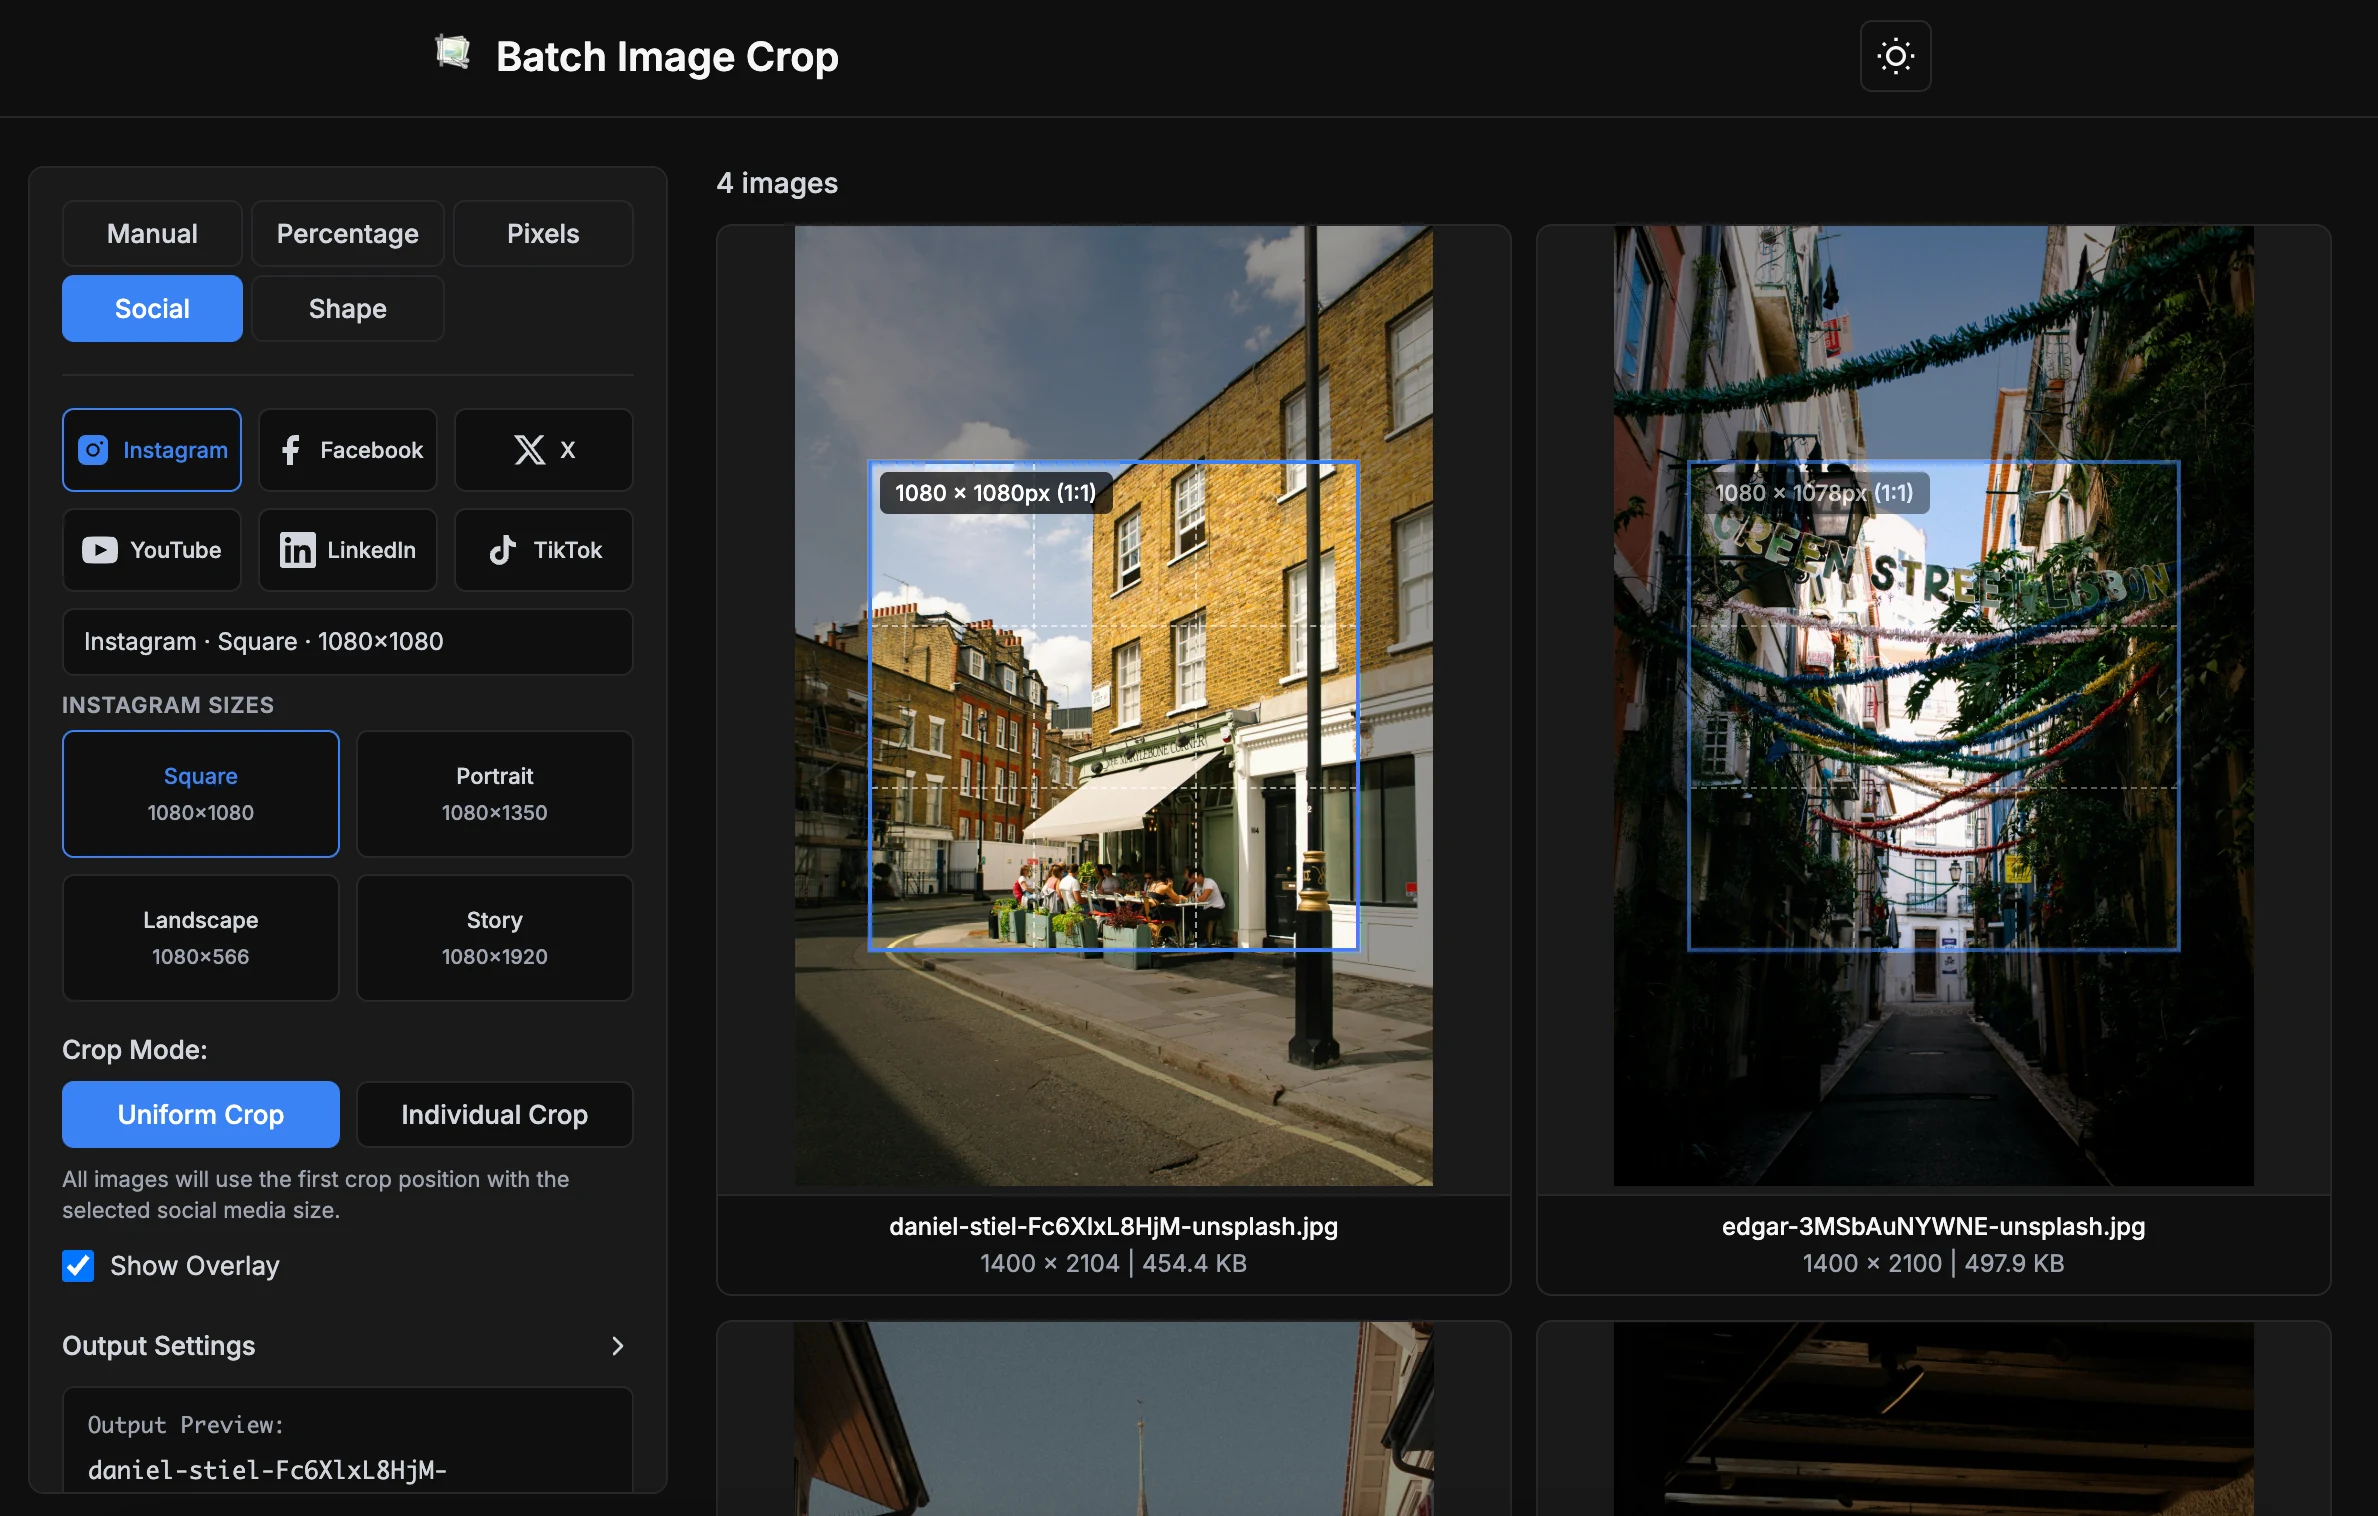
Batch Image Crop includes Social mode presets for the most common platform formats. These presets are designed for practical publishing workflows where you need a clear, named output size.
| Platform | Preset | Size | Best for |
|---|---|---|---|
| Square | 1080 x 1080 | Feed posts and reusable square creatives | |
| Portrait | 1080 x 1350 | Feed posts with more vertical space | |
| Landscape | 1080 x 566 | Wide feed visuals | |
| Story | 1080 x 1920 | Stories and vertical campaigns | |
| Post | 1200 x 630 | Shared posts and ads | |
| Cover | 851 x 315 | Page cover images | |
| X | Post | 1600 x 900 | Timeline visuals and announcements |
| X | Header | 1500 x 500 | Profile header images |
| YouTube | Thumbnail | 1280 x 720 | Video thumbnails |
| YouTube | Banner | 2560 x 1440 | Channel banner artwork |
| Post | 1200 x 627 | Company updates and campaign posts | |
| Cover | 1128 x 191 | Company page cover images | |
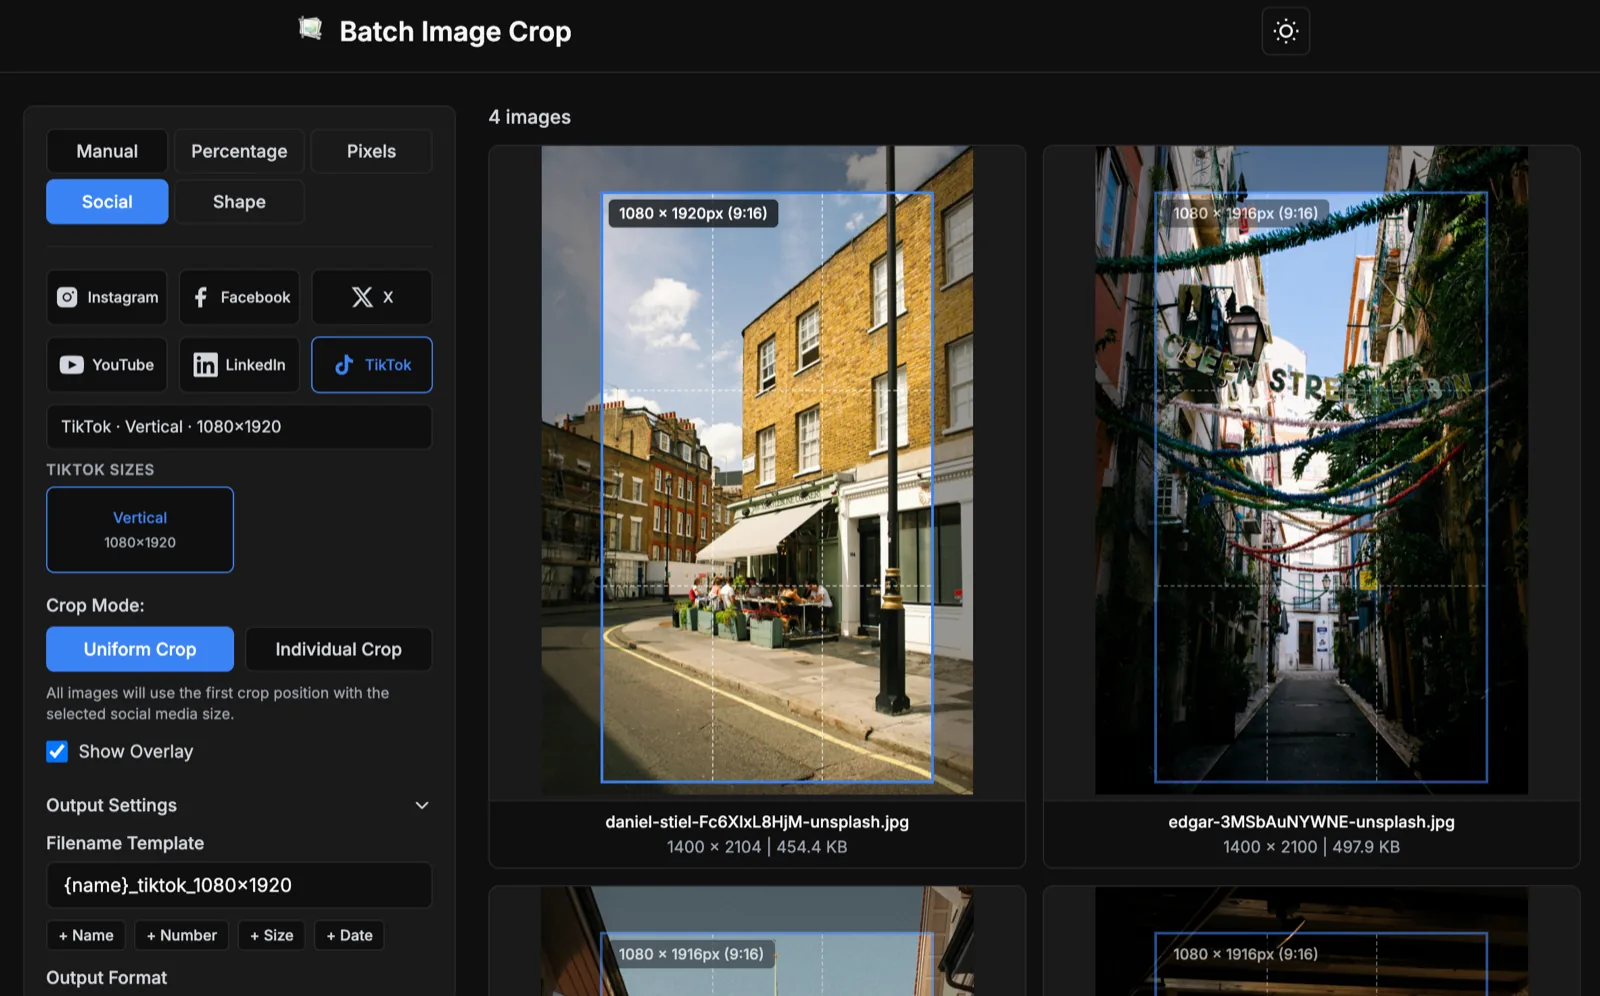
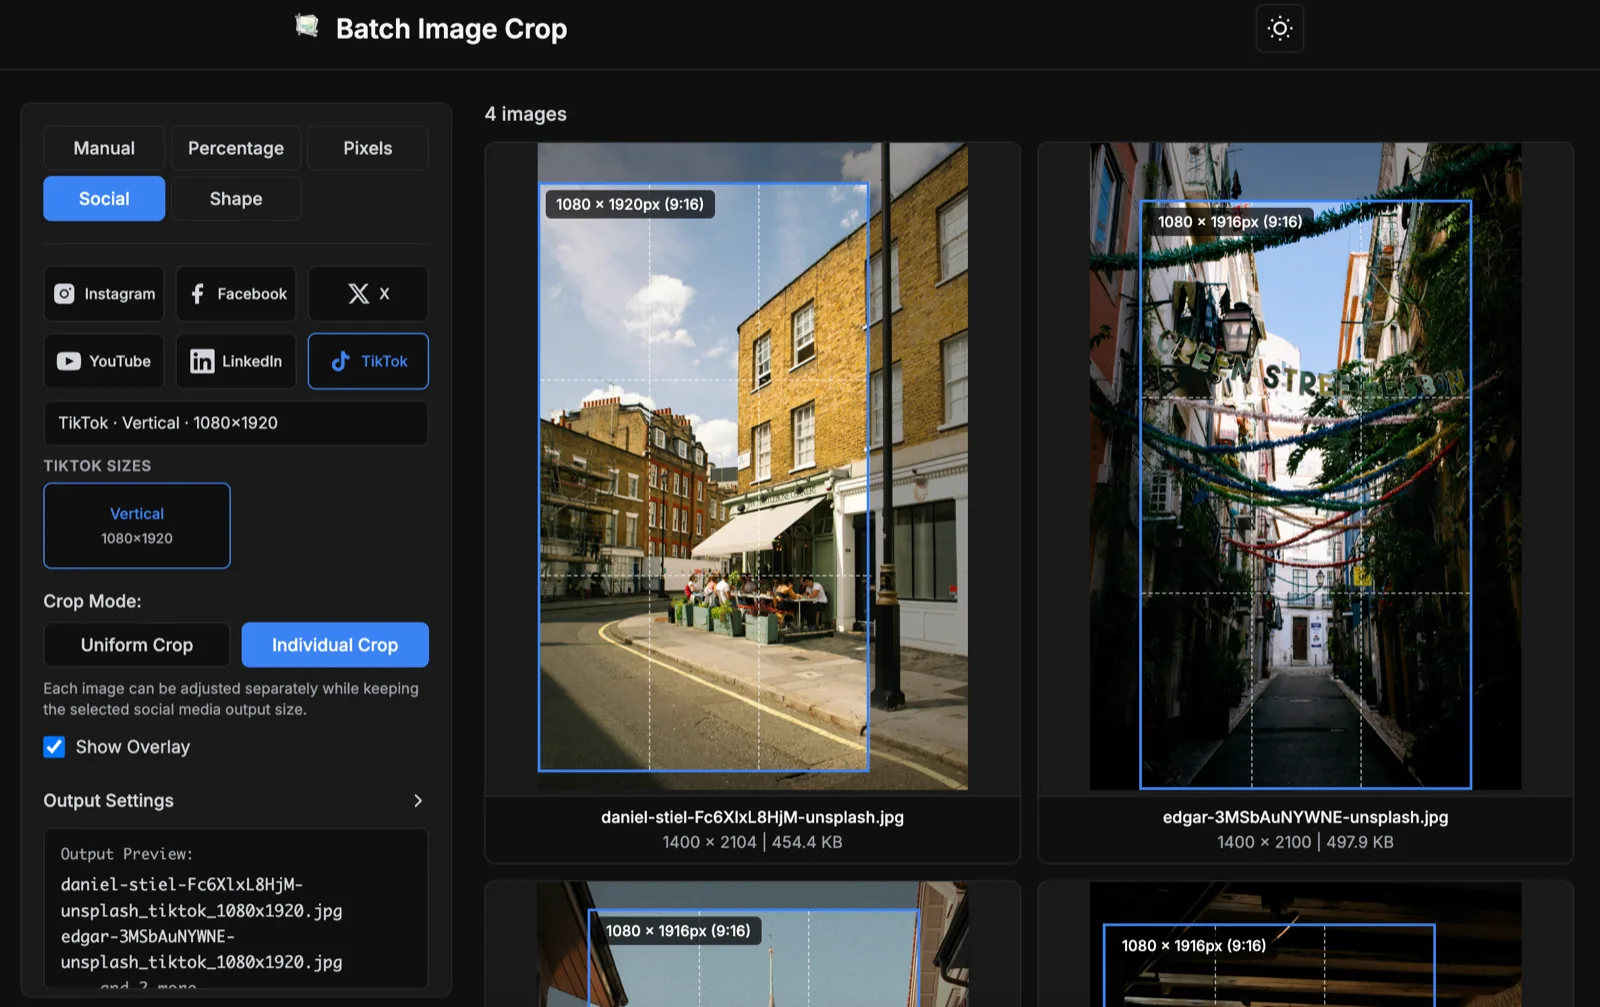
| TikTok | Vertical | 1080 x 1920 | Vertical creatives |
How to Batch Crop Images for Social Media
The fastest workflow is to use Social mode, choose a platform, choose the exact preset, adjust the framing, and export. This bulk crop workflow keeps output sizes consistent while processing files locally in your browser.
Want to follow the workflow now?
Open Social Crop ModeStep 1: Upload Your Source Images
Start with the highest-resolution originals you have. Social platforms compress images after upload, so clean source files give you more room to crop without losing sharpness.
The tool supports JPEG, PNG, WebP, GIF, BMP, TIFF, AVIF, HEIC, and HEIF. For most social media workflows, JPEG, PNG, and WebP are the most practical.
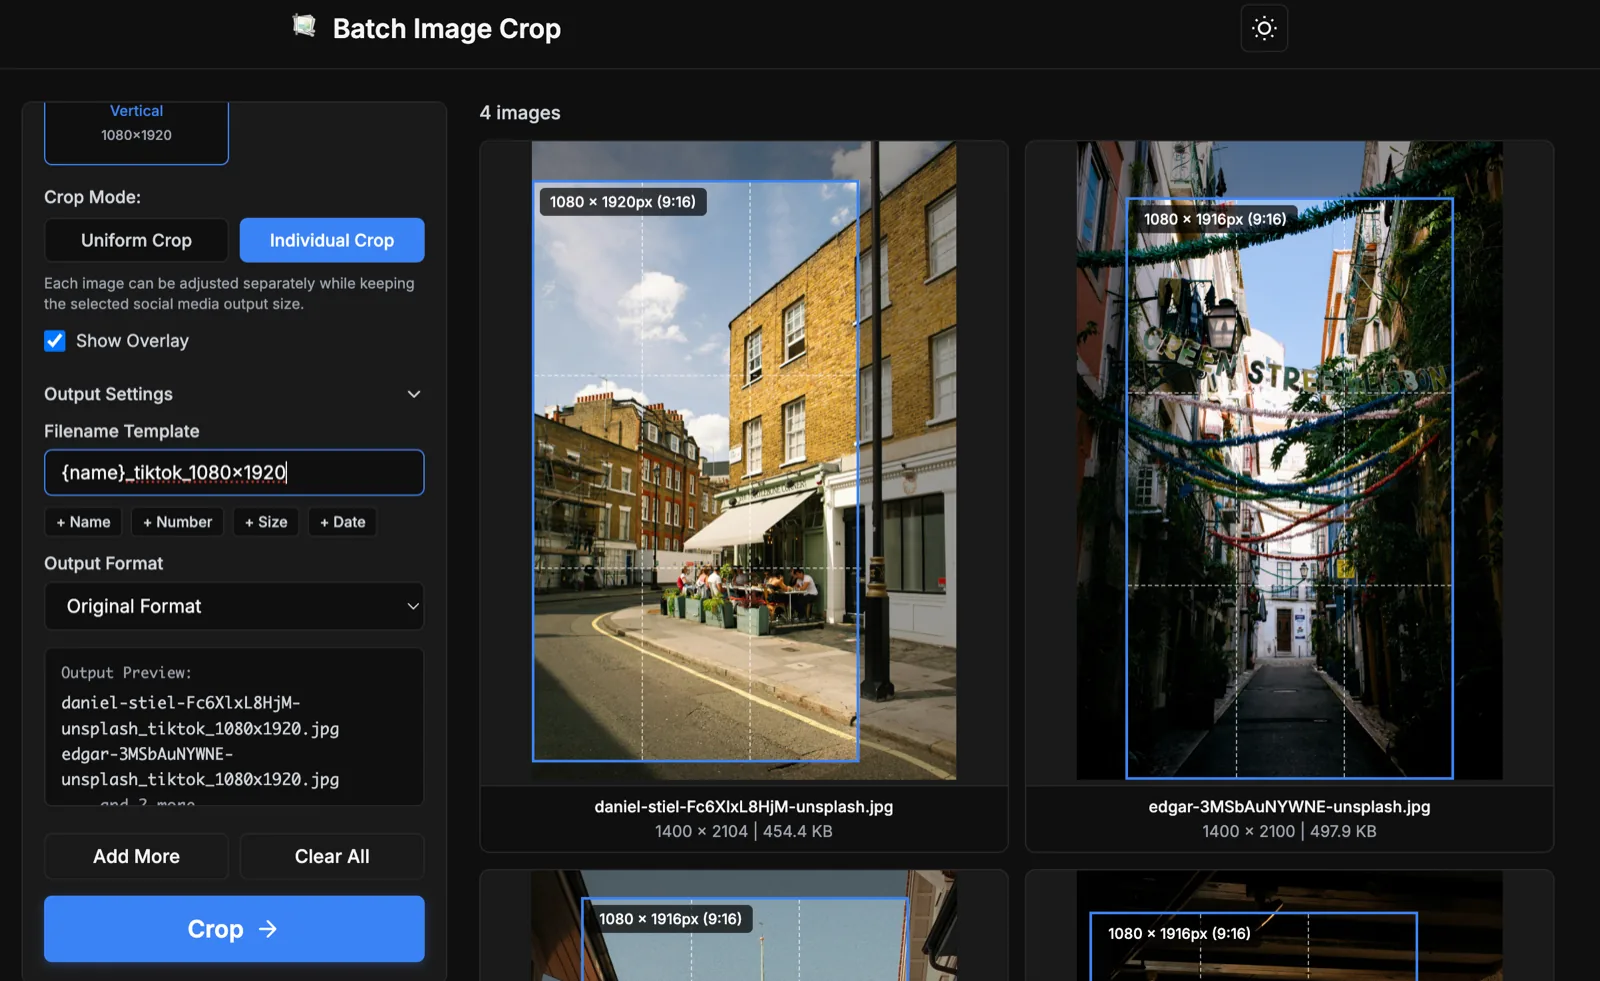
Step 2: Choose Social Mode
Open Social mode and choose the platform you are preparing assets for. Instead of entering width and height manually, pick named presets such as Instagram Portrait, Facebook Post, YouTube Thumbnail, and TikTok Vertical.
A preset name is easier to verify than raw numbers, especially when exporting multiple versions of one campaign.
Step 3: Pick One Clear Preset Per Platform
A common mistake is exporting too many similar sizes for one network. Pick the format that matches the placement first.
If you are unsure which one to use, decide the placement first and let placement drive the crop.
Step 4: Preview and Adjust the Crop
After choosing a preset, check the preview before exporting. Move the crop box so faces, product details, logos, and important text stay visible.
If every image has similar composition, keep Uniform Crop. If subjects move from image to image, switch to Individual Crop. The selected social output size stays the same while each image gets its own crop position.
If your source image is smaller than the recommended size, Batch Image Crop shows Below recommended. Export still works, but the result may be upscaled.
Step 5: Export with Platform-Based Filenames
When you choose a Social preset, include platform and size in filenames so your delivery set stays clear and organized.
Best Practices for Social Media Batch Cropping
- Crop from high-resolution originals. You get enough pixels for vertical outputs, thumbnails, and large banners.
- Keep subjects inside safe areas. Do not place faces, logos, or text too close to edges.
- Export one placement at a time. Finish one target format, then switch to the next platform preset.
- Use short, descriptive filenames. Include campaign, platform, and size.
- Review text-heavy graphics carefully. Social compression can reduce readability for small text.
When to Use Pixels Mode Instead
Social mode is best for standard platform presets. Use Pixels mode when your team, CMS, or ad platform requires an exact custom size not listed in Social mode.
Why Browser-Based Batch Cropping Helps
For social teams, speed matters. One campaign often needs the same visual adapted for Instagram, LinkedIn, X, YouTube, and TikTok before launch.
Because processing happens locally, Batch Image Crop is also useful for unreleased product shots and client visuals that should not be uploaded.
Final Checklist Before Posting
- Choose platform and placement first.
- Select the matching Social preset.
- Check if any file is below recommended size.
- Preview subjects, logos, and text.
- Export with platform and size in filenames.
If you publish across multiple platforms, a reliable social media batch image crop workflow saves time and prevents accidental bad crops.